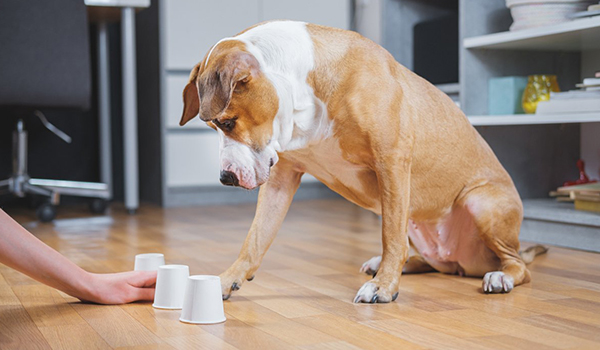
Bringing a new dog home is an exciting adventure, and teaching them basic commands is one of the most rewarding parts of being a pet parent. Training builds communication, strengthens your bond, and keeps your dog safe. The key to success? Positive reinforcement. This method rewards the behaviors you want to see, making your dog eager to learn and please.
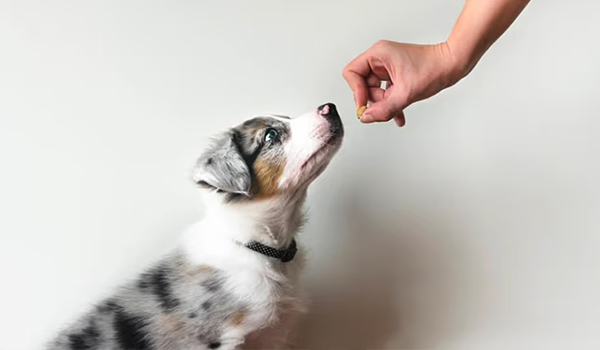
For this guide, you’ll need a handful of your dog’s favorite small, soft treats, a quiet space with few distractions, and plenty of patience. Keep training sessions short (5-10 minutes) and fun, always ending on a positive note.
Let’s break down the five essential commands every dog should know.
1. “Sit” (The Foundation Command)
Why it’s useful: The “sit” is the perfect way to ask your dog for polite behavior, whether before receiving a meal, going out the door, or greeting a guest.
Step-by-Step Guide:
- Lure: Hold a treat in your hand and let your dog sniff it.
- Move the treat: Slowly move the treat from their nose up and slightly back over their head. As their nose follows the treat, their bottom will naturally lower to the ground.
- Mark and Reward: The moment their rear touches the floor, use a marker word like “Yes!” or click a clicker, and immediately give them the treat.
- Add the cue: Once they are reliably following the lure into a sit, start saying the word “Sit” as they begin to move into the position.
- Practice: Practice this multiple times a day. Soon, you can phase out the lure and just use the verbal cue or hand signal (an upward-moving hand).
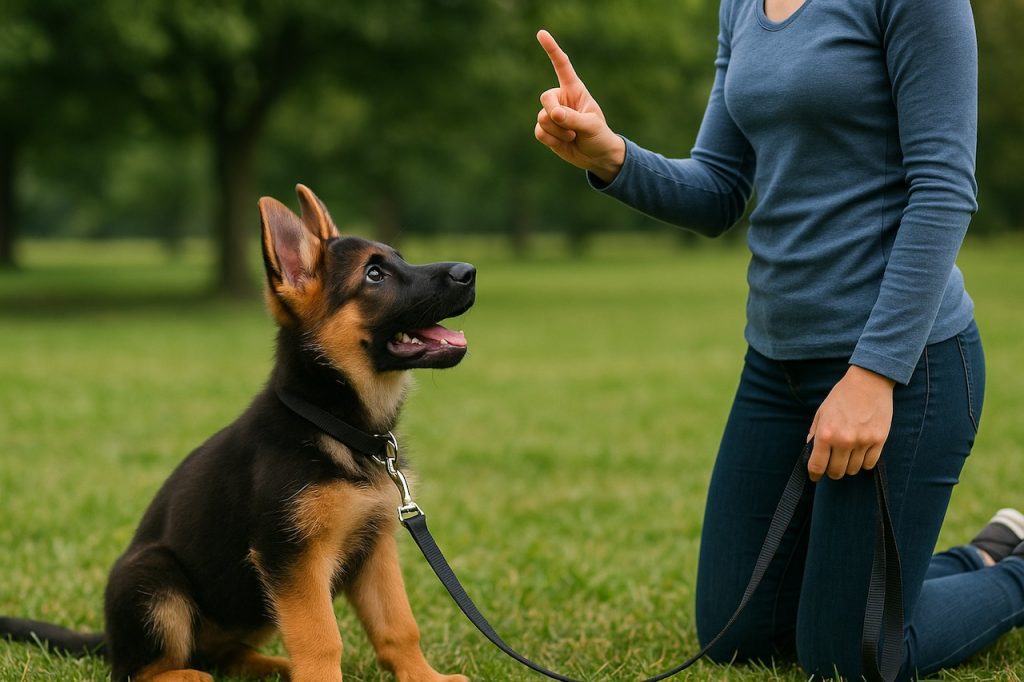
2. “Stay” (Teaching Impulse Control)
Why it’s useful: “Stay” keeps your dog in a safe position and is crucial for preventing them from bolting out doors or into streets.
Step-by-Step Guide (teach this after “Sit” is solid):
- Ask for a “Sit.”
- Open palm signal: Hold your open palm out in front of you, like a stop sign, and say “Stay.”
- Reward quickly: Take a half-step back, immediately step back to your dog, reward them while they are still sitting, and then release them with a cue like “Okay!” to break the stay.
- Increase distance and time: Gradually, over many sessions, increase how long you wait before rewarding and how many steps you take back. If they break the stay, calmly return them to the spot and try again with an easier duration or distance.
- Add distractions: Once they can stay reliably in a quiet room, slowly start adding mild distractions (e.g., clapping your hands once).
3. “Down” (The Calm Submission Command)
Why it’s useful: “Down” is a more submissive and calming position than “sit.” It’s great for getting your dog to settle in various situations.
Step-by-Step Guide:
- Start with a “Sit.”
- Lure: Hold a treat in your closed fist in front of your dog’s nose.
- Move to the floor: Slowly move your hand straight down to the ground between their front paws. They should follow it into a lying down position.
- Mark and Reward: The moment their elbows touch the floor, say “Yes!” and give them the treat.
- Add the cue: Once they understand the action, begin saying “Down” as they start to lower themselves.
- Troubleshooting: If your dog stands up instead of lying down, try the exercise from a standing position or practice on a sofa or bed where the space to stand is limited.
4. “Come” (The Lifesaving Recall)
Why it’s useful: A reliable recall is the most important command for your dog’s safety, allowing you to call them away from potential danger.
Step-by-Step Guide:
- Make it a game: Start indoors with no distractions. Say your dog’s name followed by “Come!” in a happy, excited tone and run away a few steps. When they follow you, reward them with a high-value treat and lots of praise.
- Use a long leash: When practicing outdoors, use a long training leash (15-30 feet) to ensure control and safety. Let them wander, then call them. If they don’t respond, you can gently guide them in with the leash.
- Never punish: Absolutely never scold your dog when they come to you, even if it took them forever. You want them to always associate coming to you with fantastic things.
- High-value rewards: Make coming when called the most rewarding thing your dog does all day. Use their favorite treats, a game of tug, or a favorite toy.
5. “Loose-Leash Walking” (The Peaceful Walk)
Why it’s useful: Stop being pulled down the street and transform walks from a chore into an enjoyable bonding activity.
Step-by-Step Guide:
- The key concept: Reward your dog for staying near you. The leash should have a slight J-shape, not be tight.
- Stop and be a tree: The second your dog pulls and the leash goes tight, stop completely and stand still. Do not yank or pull them back. This teaches them that pulling gets them nowhere.
- Reward the right position: When they loosen the leash by turning back to you or moving closer, mark it with “Yes!” and reward them with a treat right next to your leg.
- Change direction: Another great method is to randomly change direction and say “Let’s go!” when your dog is walking nicely. Reward them when they catch up and walk with you.
- Be consistent: This requires immense patience. Your dog has likely learned that pulling works. You must consistently show them that a loose leash is what gets them to move forward and earn rewards.
Final Tips for Success
- One command at a time: Master one skill before moving to the next. “Sit” is a great place to start.
- End on a high note: Always finish your training session after a successful repetition so your dog feels confident.
- Generalize the behavior: Practice commands in different locations (living room, backyard, on a walk) so your dog learns to listen everywhere, not just in one spot.
- Keep it positive! If you get frustrated, it’s time to end the session. Training should be a fun game for both of you.
With consistency, patience, and a pocketful of treats, you’ll build a strong foundation of obedience and trust with your canine companion. Happy training!